
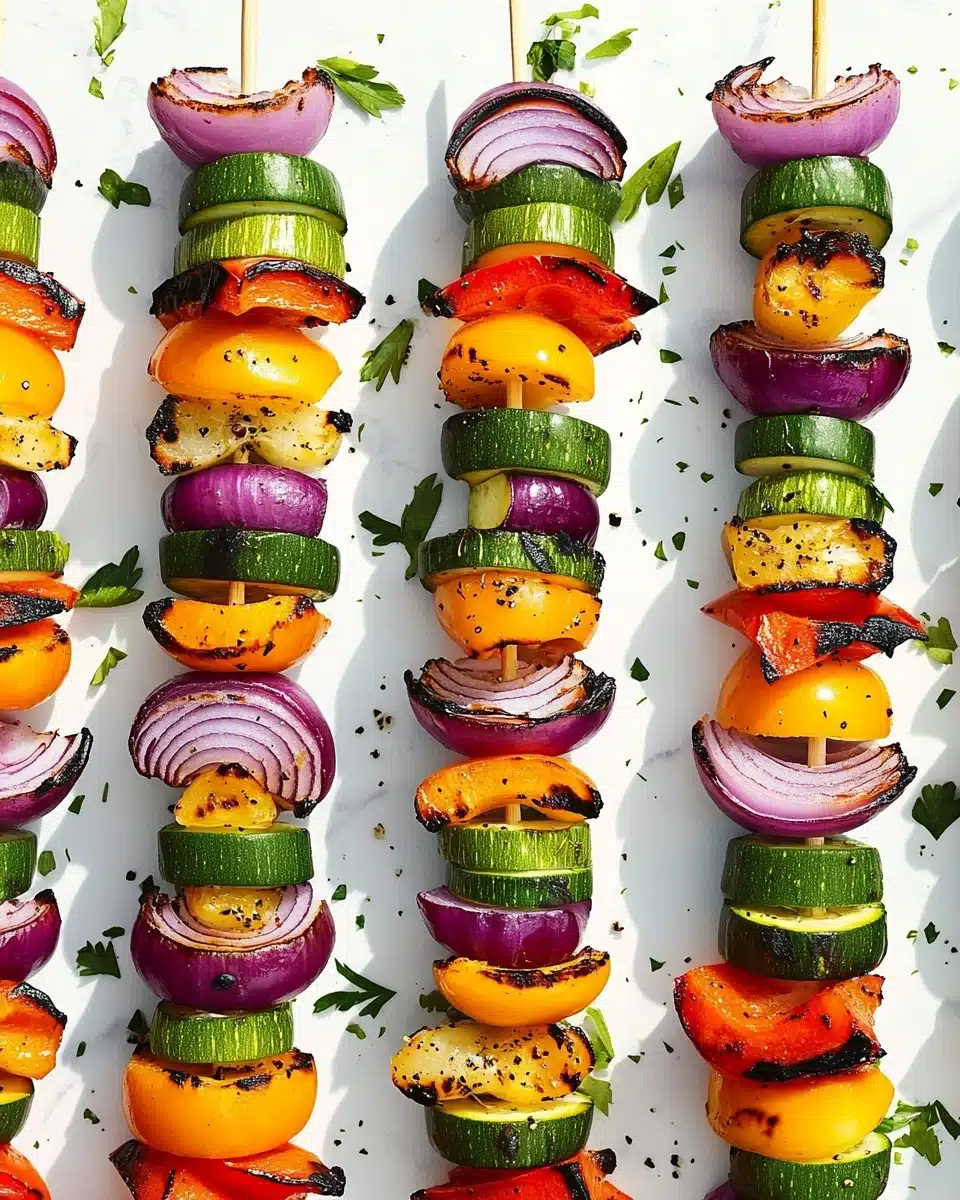
Get ready to fall in love with Grilled Veggie Skewers—a rainbow of fresh vegetables, kissed by the grill and finished with an irresistible garlic herb sauce. This recipe bursts with color, flavor, and summer vibes, making it one of my all-time favorite ways to savor fresh produce.
Why You’ll Love This Recipe
- Bursting with Freshness: Every bite sings with sweet peppers, tender zucchini, and savory onions—pure veggie perfection.
- Super Versatile: These Grilled Veggie Skewers are just as fabulous solo, tucked in a wrap, or starring at your next backyard cookout.
- Gorgeous and Colorful: If you want to impress at any gathering, these skewers deliver on that wow-factor with every vibrant hue.
- Easy, Breezy Prep: The steps are simple enough for busy weeknights but special enough for weekend feasting!

Ingredients You’ll Need
I love that this recipe keeps things refreshingly simple, yet every ingredient earns its spot. The variety of vegetables gives you flavor, crunch, and that picture-perfect color, while the easy garlic herb sauce makes everything pop with brightness and aroma.
- Red Onion: Adds just the right touch of sweetness and structure to each skewer—great for anchoring the ends.
- Zucchini: Soaks up the smoky grill flavor beautifully and gives a soft, mild contrast to the peppers.
- Red, Orange, Yellow, and Green Bell Peppers: The real rainbow! Use all four colors for the prettiest skewers and that sweet-crisp bite.
- Olive Oil (for brushing): Helps veggies char beautifully and keeps them juicy.
- Balsamic Vinegar (for serving): A finishing drizzle adds tangy brightness and rounds out the flavors.
- Olive Oil (for sauce): The creamy base for infusing all those herbs and garlic.
- Garlic: Freshly minced for big, bold flavor—don’t shy away!
- Fresh Parsley & Cilantro: Herbs make the sauce vibrant and so fragrant.
- Fresh Rosemary: A hint of piney depth you’ll love with grilled veggies.
- Salt & Black Pepper: Essential for seasoning every veggie morsel just right.
Variations
The beauty of Grilled Veggie Skewers is just how endlessly adaptable they are. Feel free to mix things up based on what you have in the fridge, your favorite veggies, or any dietary needs—there are so many tasty possibilities!
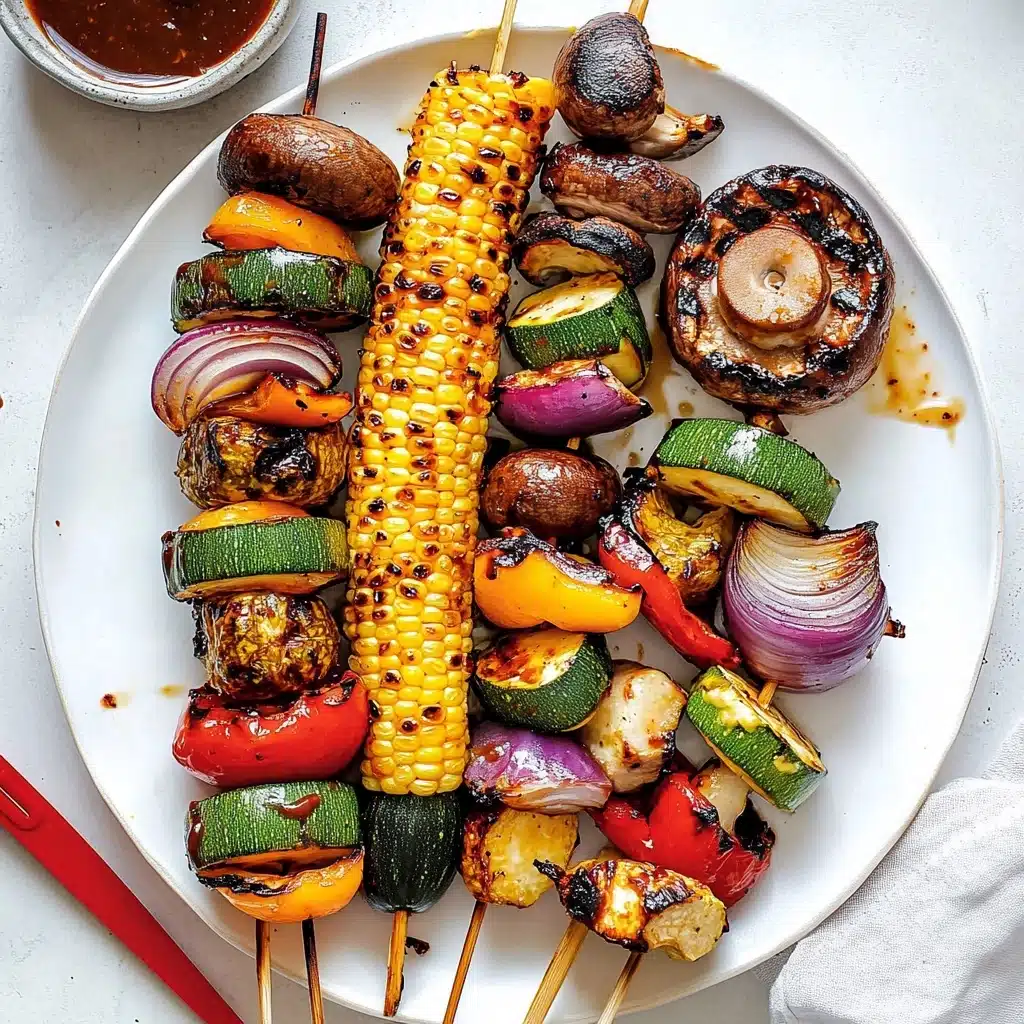
- Add Mushrooms: Button or cremini mushrooms are amazing on the grill and add a fantastic earthy bite.
- Try a Greek Twist: Thread cubes of halloumi cheese between the veggies and swap the herb sauce for a quick tzatziki!
- Go Spicy: Sprinkle a bit of crushed red pepper or drizzle with chili oil if you’re craving heat.
- Mix Up the Herbs: No cilantro on hand? Use basil or dill in the sauce for a different aromatic kick.
- Make Them Vegan or Gluten-Free: This recipe is naturally both, but you can always swap the herbs, omit sauce, or add a plant-based protein.
How to Make Grilled Veggie Skewers
Step 1: Soak the Skewers
If using wooden skewers, give them a soak in water for at least 15-30 minutes before threading. This small but important step prevents burning, and you can do it while prepping the veggies!
Step 2: Prep the Vegetables
Peel and slice each red onion, then cut into wedges about the width of a pizza slice. Seed and chop your bell peppers into vibrant, even 1-inch squares, and slice zucchini into rounds—uniform cuts help everything cook at the same rate.
Step 3: Make the Garlic Herb Sauce
Whisk together olive oil, minced garlic, parsley, cilantro, rosemary, plus salt and pepper in a bowl. This sauce is the flavor bomb that makes your Grilled Veggie Skewers so special, so don’t skimp on those fresh herbs!
Step 4: Assemble the Skewers
Thread the vegetables onto the skewers, alternating different colors and types for a beautiful pattern. Brush with olive oil all over—this helps lock in moisture and encourages that delicious char on the grill.
Step 5: Grill to Perfection
Preheat your grill to medium-high. Lay the skewers directly on and cook for 5-8 minutes per side, turning occasionally, until the veggies are just softened and have mouthwatering grill marks around the edges.
Step 6: Serve and Finish
Take those skewers off the heat, brush generously with your garlic herb sauce, and if you love extra zing, finish with a drizzle of balsamic vinegar. Serve hot—these are best enjoyed fresh off the grill!
Pro Tips for Making Grilled Veggie Skewers
- Uniform Veggie Cuts: Cut vegetables into pieces of similar size so everything grills evenly and you get perfect tenderness on every skewer.
- Start with Hot Grates: Make sure your grill is fully preheated for deep grill marks and to keep the veggies from sticking.
- Sauce Timing: Brush the garlic herb sauce on after grilling, not before, to keep those fresh herb flavors punchy and prevent burning.
- Skewer Placement: Place heavier veggies like red onion at the ends to help keep everything secure as you flip them.
How to Serve Grilled Veggie Skewers
Garnishes
Add a handful of extra chopped fresh herbs or a few cracks of black pepper just before serving for an inviting pop of color and aroma. A squeeze of lemon juice is also lovely if you want a fresh finishing touch!
Side Dishes
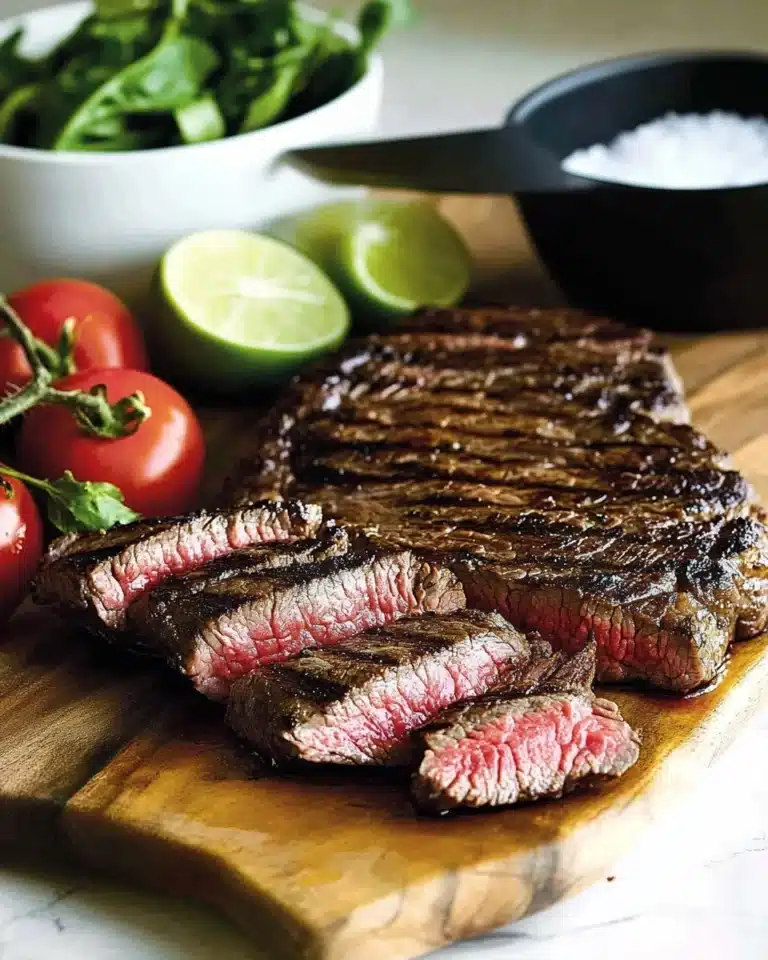
Pair your Grilled Veggie Skewers with a hearty grain salad, warm pita bread, quinoa, or a scoop of garlicky hummus. They also play beautifully alongside your favorite grilled proteins or tossed into pasta for a quick summer supper.
Creative Ways to Present
For a party, serve the skewers on a big platter with a bowl of extra garlic herb sauce for dipping. Or, slide the grilled veggies off their skewer and toss them with greens and feta for a bold, grilled vegetable salad everyone will rave about.
Make Ahead and Storage
Storing Leftovers
Leftover Grilled Veggie Skewers stay fresh in an airtight container in the fridge for up to 3 days. Allow the veggies to cool before storing so they retain their wonderful texture.
Freezing
While fresh is best for texture and flavor, you can freeze grilled veggies if needed. Remove from the skewers, spread out on a baking sheet to freeze individually, then transfer to a freezer bag for up to 2 months. Thaw before reheating.
Reheating
Reheat leftover skewers gently in the oven at 350°F, or on a grill pan over medium heat to revive that smoky flavor. Just be sure not to overcook or your veggies might go mushy!
FAQs
-
Can I make Grilled Veggie Skewers without a grill?
Absolutely! You can cook the skewers under an oven broiler or on a grill pan on the stovetop. Just keep an eye on them and turn as needed until they’re beautifully charred and tender.
-
What other vegetables can I use for these skewers?
Try cherry tomatoes, mushrooms, eggplant, or even chunks of sweet potato (par-cook denser veggies first). The recipe is super flexible—mix in your seasonal favorites.
-
How do I keep the veggies from spinning on the skewers?
Use flat skewers if possible, or double up two wooden skewers side by side per kebab. Heavier vegetables like onion at the ends help anchor everything in place, too.
-
Can I prepare Grilled Veggie Skewers ahead of time?
Yes! You can chop and thread the veggies onto skewers a day in advance—just cover and refrigerate until grill time. Wait to brush on the olive oil and sauce until just before grilling or serving.
Final Thoughts
If you’re searching for a fresh, colorful, and outrageously tasty addition to your table, these Grilled Veggie Skewers are bound to become a staple. I hope you give them a try—let your grill do the work and let these veggies steal the show!
Print
Grilled Veggie Skewers Recipe
- Prep Time: 30 minutes
- Cook Time: 15 minutes
- Total Time: 45 minutes
- Yield: 4 servings
- Category: Appetizer, Side Dish
- Method: Grilling
- Cuisine: Barbecue, American
- Diet: Vegetarian
Description
Grilled Veggie Skewers are a colorful and flavorful dish perfect for summer grilling. These vegetable skewers are loaded with a variety of bell peppers, zucchini, and red onion, grilled to perfection and served with a delicious garlic herb sauce.
Ingredients
For the Vegetable Skewers
- 4 medium red onion
- 4 medium zucchini, sliced
- 2 red bell pepper
- 2 orange bell pepper
- 2 yellow bell pepper
- 2 green bell pepper
- olive oil, for brushing
- Balsamic vinegar, for serving
For the Garlic Herb Sauce
- 1/3 cup olive oil
- 5 cloves garlic, minced
- 3 tablespoons fresh parsley, minced
- 3 tablespoons fresh cilantro, minced
- 1 teaspoon fresh rosemary, minced
- salt, to taste
- freshly ground black pepper, to taste
Instructions
- Soak the skewers: Soak approximately 8-12 wooden skewers in water for at least 15-30 minutes.
- Prepare vegetables: Slice the onions, bell peppers, and zucchini into appropriate sizes.
- Make the Garlic Herb Sauce: Combine olive oil, garlic, parsley, cilantro, rosemary, salt, and pepper in a bowl.
- Skewer the vegetables: Thread the vegetables onto skewers, alternating between onion, zucchini, and bell peppers.
- Grill: Grill the skewers for 5-8 minutes per side until vegetables are tender.
- Finish: Brush with garlic herb sauce and balsamic vinaigrette before serving.
Notes
- If using wooden skewers, soak them before grilling.
- Prep vegetables ahead for quicker cooking.
- Place sturdier vegetables on the ends of the skewers.
Nutrition
- Serving Size: 1 skewer
- Calories: 324 kcal
- Sugar: 11g
- Sodium: 26mg
- Fat: 19g
- Saturated Fat: 2g
- Unsaturated Fat: 17g
- Trans Fat: 0g
- Carbohydrates: 36g
- Fiber: 6g
- Protein: 5g
- Cholesterol: 0mg


