

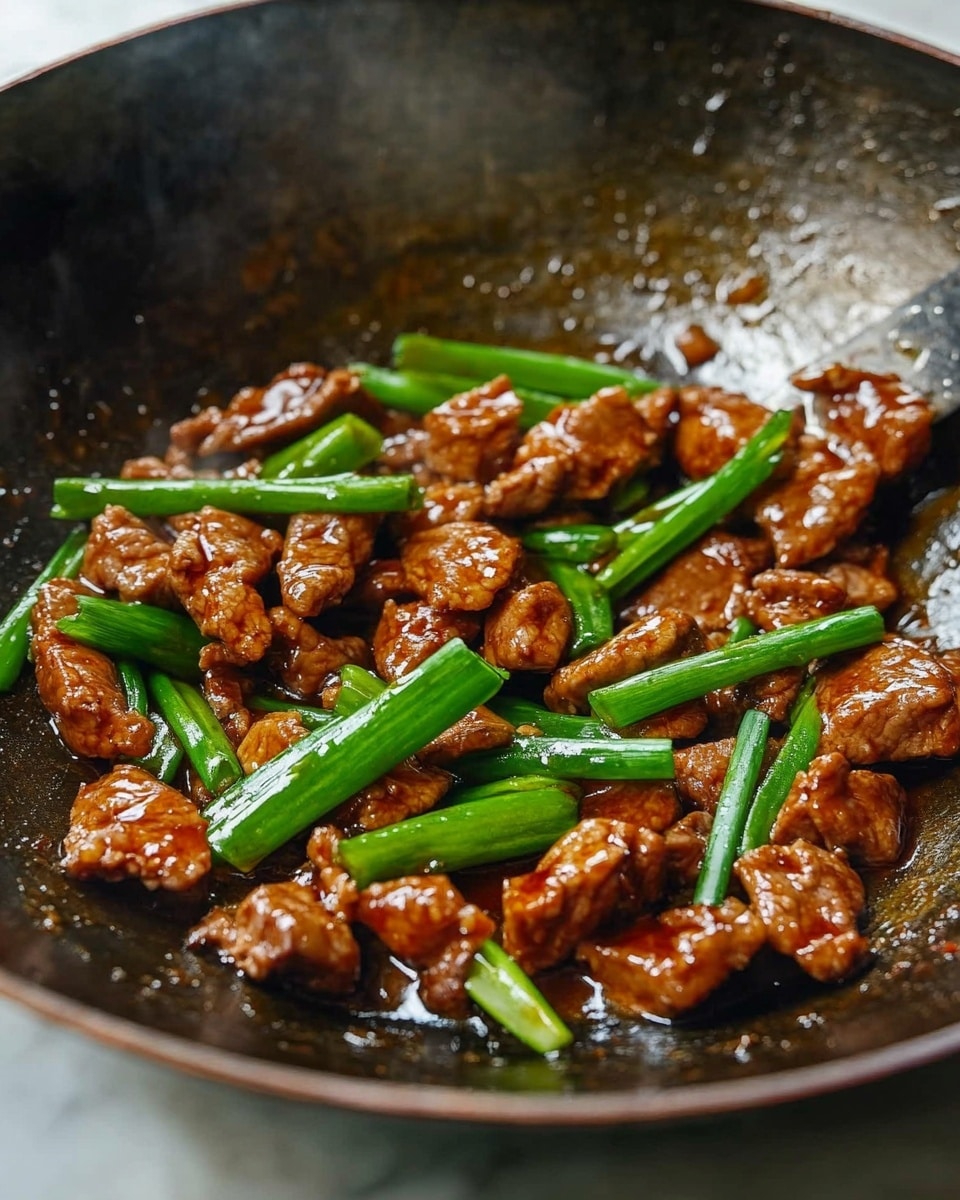
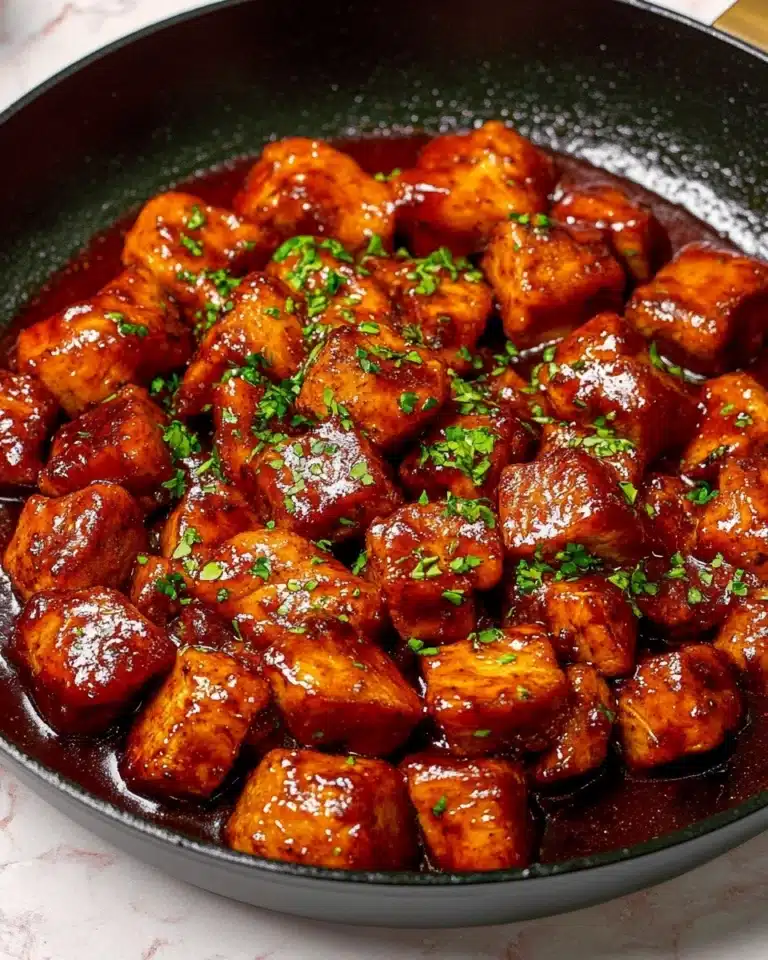
I absolutely love this Mongolian Chicken Recipe because it’s a perfect balance of sweet, savory, and a little bit spicy. Whenever I make this dish, the rich hoisin and soy sauce glaze coating the crispy chicken thighs never fail to impress my family. It’s quick enough for a weeknight dinner but special enough to serve when friends come over.
When you try this Mongolian Chicken Recipe, you’ll find it’s incredibly versatile and forgiving. The crispy chicken contrasted with the glossy, flavorful sauce makes every bite something special. Plus, once you master this technique, you’ll want to make it again and again — trust me, it’s that good!
Why You’ll Love This Recipe
- Quick & Easy: You’ll have this on your table in under 30 minutes, perfect for busy days.
- Crispy & Saucy: The chicken stays crispy while getting coated in a luscious, flavorful sauce.
- Family Favorite: My family goes crazy for how balanced the flavors are — sweet, a touch spicy, and savory.
- Flexible Cooking Options: You can fry or air fry the chicken to suit your preferences or kitchen setup.

Ingredients You’ll Need
These ingredients work so well together to create that iconic Mongolian Chicken taste. You’ll notice the blend of hoisin and soy sauce gives the sauce a deep, complex flavor, while fresh garlic and ginger add brightness. If you’re shopping, don’t skip on good-quality soy and hoisin sauces—they make a big difference!
- Chicken thighs: I prefer skinless, boneless thighs for juiciness and tenderness.
- Cornstarch: This helps the chicken get a beautiful crispy crust; potato starch works great too.
- Vegetable oil: Use a neutral oil for frying to let the sauce flavors shine.
- Garlic: Freshly minced garlic gives the dish its irresistible aroma.
- Red chili peppers: Optional, but I love the mild heat they add.
- Ginger: Thinly sliced for that fresh, zingy bite.
- Hoisin sauce: This is a key ingredient—sweet, savory, and slightly tangy.
- Soy sauce: Opt for regular soy sauce to get the salty depth you want.
- Brown sugar: Adds just the right amount of sweetness to balance the salt and spice.
- Sesame oil: Adds that unmistakable nutty aroma and flavor.
- Cornstarch slurry: This thickens the sauce beautifully without lumps.
- Green onions (optional): Freshly chopped for garnish and a pop of color.
Variations
I love how flexible this Mongolian Chicken Recipe is. Once you get the basics down, you can easily adjust the spice level or swap out ingredients to fit your mood or dietary needs.
- Protein swap: I often try chicken breasts when I want a leaner option, and it comes out juicy if you don’t overcook it.
- Spice it up: Adding more red chili or a dash of sriracha really amps up the heat for spice lovers.
- Vegetarian alternative: Use crispy tofu instead of chicken and follow the same sauce steps for a plant-based twist.
- Gluten-free: Just swap hoisin and soy sauce for gluten-free versions without changing the recipe much.
How to Make Mongolian Chicken Recipe
Step 1: Prep and Coat the Chicken
Start by dicing your chicken thighs into bite-sized pieces—about 1.5 inches is perfect. Don’t dry the chicken before coating; the slight moisture actually helps the cornstarch stick better. Toss the pieces with cornstarch until they have a nice even coating. If some bits look dry, sprinkle a little extra cornstarch—they’ll crisp up wonderfully during cooking.
Step 2: Cook the Chicken
You have two great options here. I usually shallow-fry the chicken in vegetable oil until golden and crispy, which takes about 6-8 minutes per batch. Be sure to fry in batches so the oil stays hot and the chicken crisps up instead of steaming. Alternatively, air frying is fantastic if you want to skip the mess—just spray the basket and chicken lightly with oil and air fry at 400°F for 10-14 minutes, shaking halfway for even cooking.
Step 3: Make the Sauce
Lower the heat to medium and sauté the ginger, garlic, and red chili for around 10 seconds until the kitchen smells amazing. Then, add the hoisin sauce, soy sauce, brown sugar, and sesame oil — give everything a good stir. Before adding the cornstarch slurry, stir it gently to recombine, then pour it into the pan and stir until it simmers and thickens to a glossy finish.
Step 4: Toss and Serve
Mix the cooked chicken into the sauce and toss well so every piece gets coated. Take it off the heat immediately and transfer it to a serving dish. I love sprinkling chopped green onions and extra chili slices on top for a fresh, colorful touch.
Pro Tips for Making Mongolian Chicken Recipe
- Don’t Overcrowd the Pan: Cooking chicken in batches ensures each piece crisps up beautifully without steaming.
- Use Thighs for Juiciness: Thighs stay tender and flavorful, especially with this cooking method.
- Stir Cornstarch Slurry Before Adding: The starch settles quickly, so give it a quick mix before pouring to avoid lumps.
- Add Sauce Last: Toss the chicken in the sauce right before serving to keep that signature crisp texture.
How to Serve Mongolian Chicken Recipe
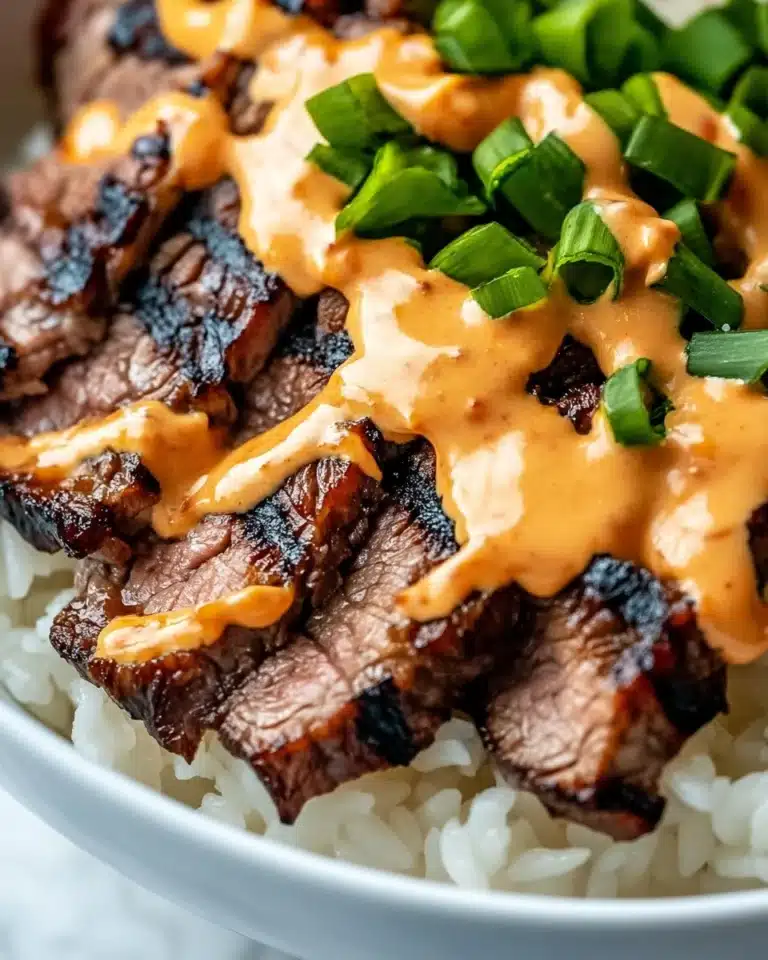
Garnishes
I always garnish with freshly chopped green onions—they add a lovely crunch and vibrant color. Sometimes I add thin slices of red chili pepper for a pop of heat and a great visual contrast. These simple toppings really elevate the dish.
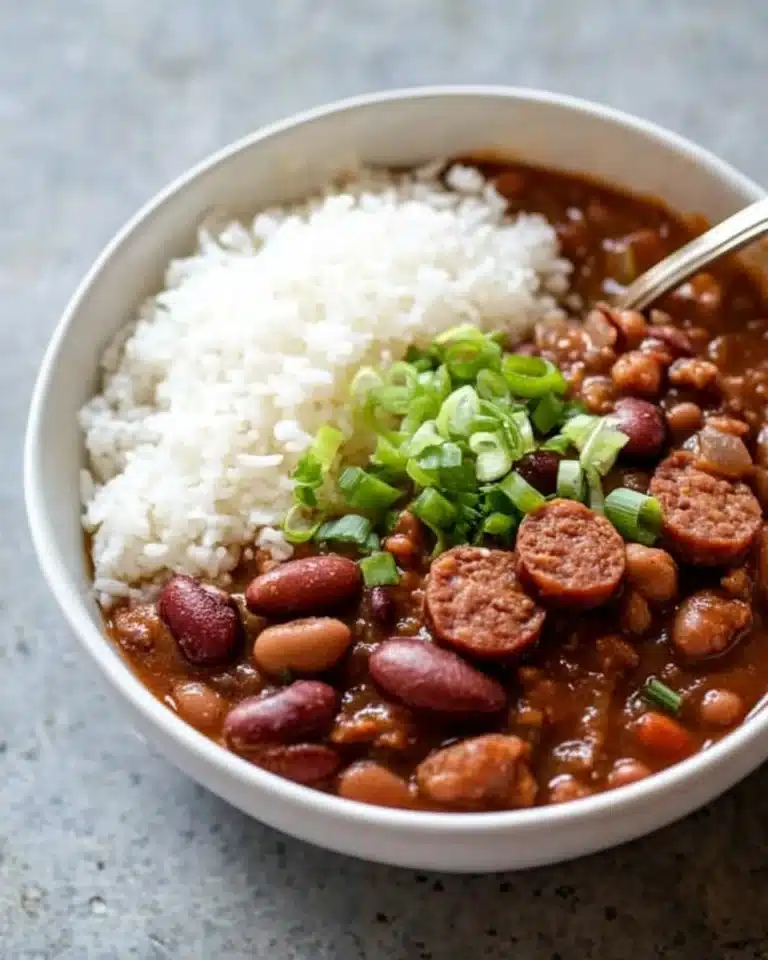
Side Dishes
This Mongolian Chicken Recipe pairs beautifully with steamed white or jasmine rice. I also love serving it with stir-fried vegetables for some extra crunch and nutrition. For a change, try it over noodles or even cauliflower rice for a low-carb experience.
Creative Ways to Present
For special occasions, I like plating this chicken on a large platter garnished with lots of green onions and a handful of toasted sesame seeds. Another fun way is to serve it in lettuce wraps with some crisp shredded carrots and cucumber on the side for a fresh bite.
Make Ahead and Storage
Storing Leftovers
I store leftover Mongolian Chicken in an airtight container in the fridge for up to 3 days. I find that draining any excess liquid helps keep the chicken from getting soggy when storing. This recipe reheats nicely, too.
Freezing
You can freeze leftover chicken and sauce separately if possible, or together in a freezer-safe container. I usually freeze in portion sizes to make reheating quick and convenient—just thaw overnight in the fridge before reheating.
Reheating
The best way to reheat is in a skillet over medium heat, adding a splash of water if needed to loosen the sauce. This helps maintain the crispy texture on the chicken better than microwaving, which can make it a bit soggy.
FAQs
-
Can I use chicken breast instead of thighs for this Mongolian Chicken Recipe?
Yes, you can! Chicken breasts work well if you prefer leaner meat. Just be careful not to overcook them since they can dry out faster than thighs. Cutting them into uniform pieces helps them cook evenly.
-
How spicy is this Mongolian Chicken Recipe?
The spice level is mild by default, thanks to the optional red chili peppers. You can easily adjust the heat by adding more chili or serving with chili sauce on the side.
-
What’s the best way to get the chicken crispy?
Coating the chicken well in cornstarch and frying it in hot oil without overcrowding the pan is key. Alternatively, air frying at a high temperature with a light spray of oil works great too.
-
Can I make the sauce ahead of time?
You can prepare the sauce in advance and reheat it gently before combining with freshly cooked chicken. However, tossing the chicken in sauce right before serving prevents sogginess and keeps the chicken crispy.
Final Thoughts
This Mongolian Chicken Recipe has become one of my go-to meals—it’s a delicious blend of textures and flavors that never gets old. I hope you’ll find as much joy in making and sharing this dish as I do. When you serve it, your friends and family will definitely ask for seconds, and you’ll feel like a kitchen pro every time!
Print
Mongolian Chicken Recipe
- Prep Time: 15 minutes
- Cook Time: 10 minutes
- Total Time: 25 minutes
- Yield: 6 servings
- Category: Main Dish
- Method: Frying
- Cuisine: Asian, Chinese
Description
This Mongolian Chicken recipe features crispy, juicy chicken pieces coated in a flavorful hoisin-soy glaze with garlic, ginger, and a touch of spice. Perfectly cooked on the stovetop or air fryer for a quick and satisfying Asian-inspired meal, it pairs wonderfully with rice or noodles for a delicious weeknight dinner.
Ingredients
Chicken and Coating
- 2 lb skinless, boneless chicken thighs
- 1/2 cup cornstarch (or as needed, or substitute with potato starch)
- 2/3 cup vegetable oil (or any neutral oil)
Sauce
- 4 cloves garlic, minced
- 2 red chili peppers, sliced (optional)
- 10 slices ginger
- 8 tablespoons hoisin sauce
- 4 tablespoons regular soy sauce
- 4 tablespoons brown sugar
- 4 teaspoons sesame oil
Cornstarch Slurry
- 2 tablespoons cornstarch (or substitute with potato starch)
- 1 cup water
Optional Garnishes
- 2 green onions, finely chopped
- 2 red chili peppers, sliced
Instructions
- Make the cornstarch slurry: In a small bowl, mix 2 tablespoons cornstarch with 1 cup water until smooth. Set aside.
- Prepare the chicken: Dice the chicken thighs into 1.5-inch pieces (about 4-6 pieces per thigh). Do not pat the chicken dry, as the moisture helps the cornstarch stick.
- Coat the chicken: In a large mixing bowl, toss the diced chicken with ½ cup cornstarch until evenly coated. Add a little more cornstarch if needed to ensure all pieces are covered well.
- Cook the chicken (choose stovetop or air fryer):
Stovetop option: Heat vegetable oil in a large pan or wok over medium-high heat. Fry chicken in batches for 6-8 minutes until golden brown on both sides. Remove and drain excess oil on a wire rack or paper towel-lined plate.
Air fryer option: Lightly spray the air fryer basket with oil. Place coated chicken pieces in a single layer without overlapping. Lightly spray chicken with oil. Air fry at 400°F for 10-14 minutes until crispy and golden, shaking halfway for even cooking. - Make the sauce: Reduce heat to medium. In the same pan used for frying, add ginger, garlic, and red chili pepper (if using). Sauté about 10 seconds until fragrant.
- Combine the sauce ingredients: Add hoisin sauce, soy sauce, brown sugar, and sesame oil to the pan. Stir well. Stir slurry to recombine and pour into the pan. Mix until sauce is smooth and thickens as it simmers.
- Combine chicken and sauce: Add the cooked chicken to the sauce and toss to evenly coat. Remove from heat.
- Serve: Transfer to a serving dish and garnish with chopped green onions and additional red chili slices if desired. Enjoy!
Notes
- Chicken: Boneless, skinless chicken breasts can be used instead of thighs.
- Cornstarch: Potato starch is a great alternative if you don’t have cornstarch.
- Spice Level: Adjust the amount of red chili peppers to your preferred heat.
- Serving Suggestions: Serve this dish with steamed rice, noodles, or your favorite vegetables for a complete meal.
